NEW Offsite Reporting Quick Start
Last updated: August 3, 2026
Please see the below commonly used reporting tools
General Reporting Access
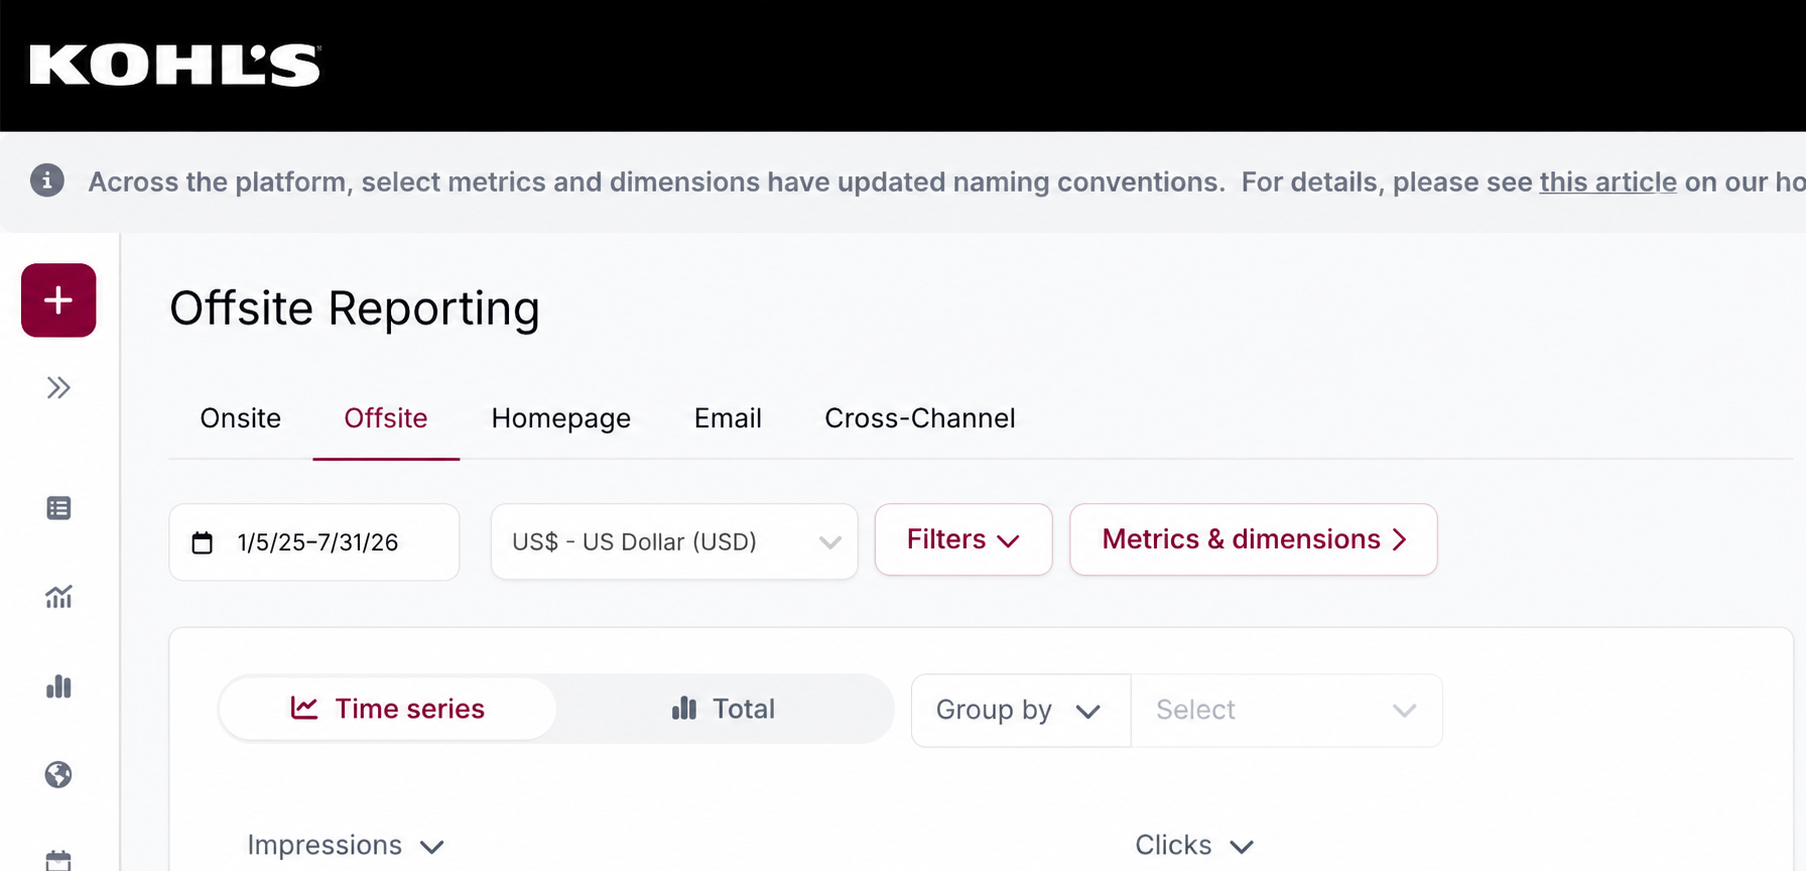
Navigate to the reporting page on the left hand side of the platform. After navigating to the reporting tab, you will see multiple options on the top of the page, including Onsite, Offsite, and Cross-Channel
Saving Reports
To save a report, see below:
In the reporting page, first create a report that you’d like to schedule (a few examples and how-to’s below).
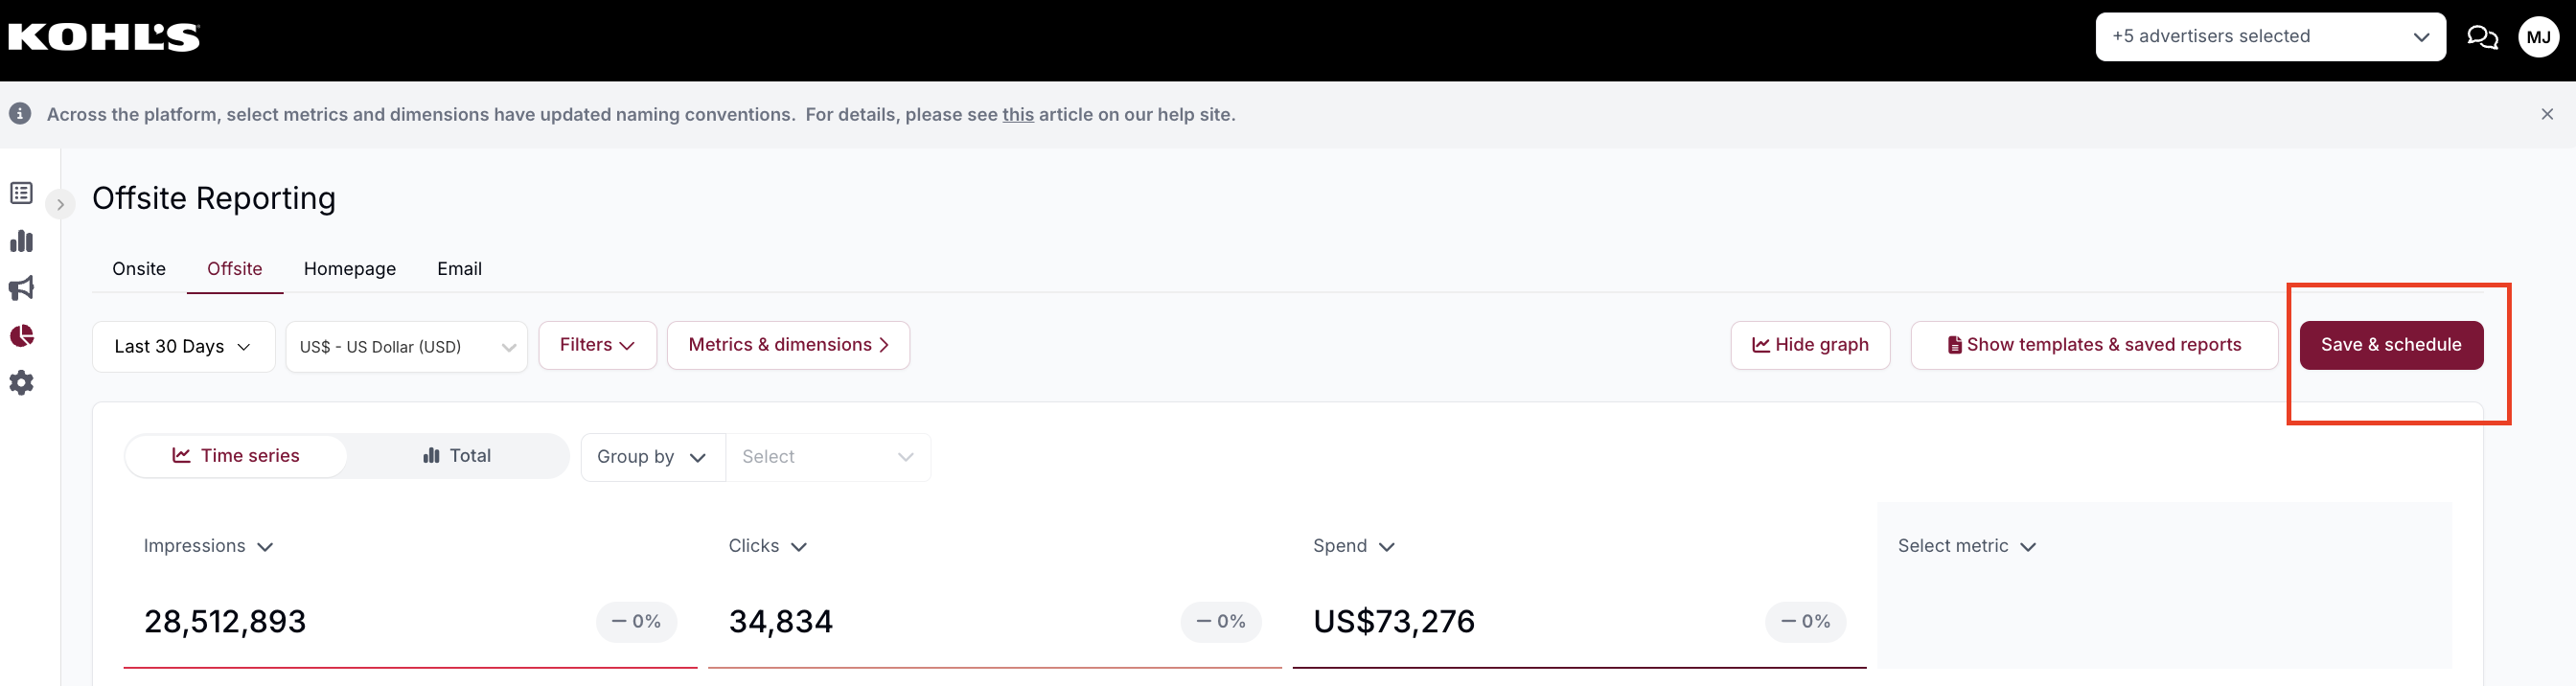
Click the ‘save/disc’ icon
Scheduling Reports
To schedule a report, see below:
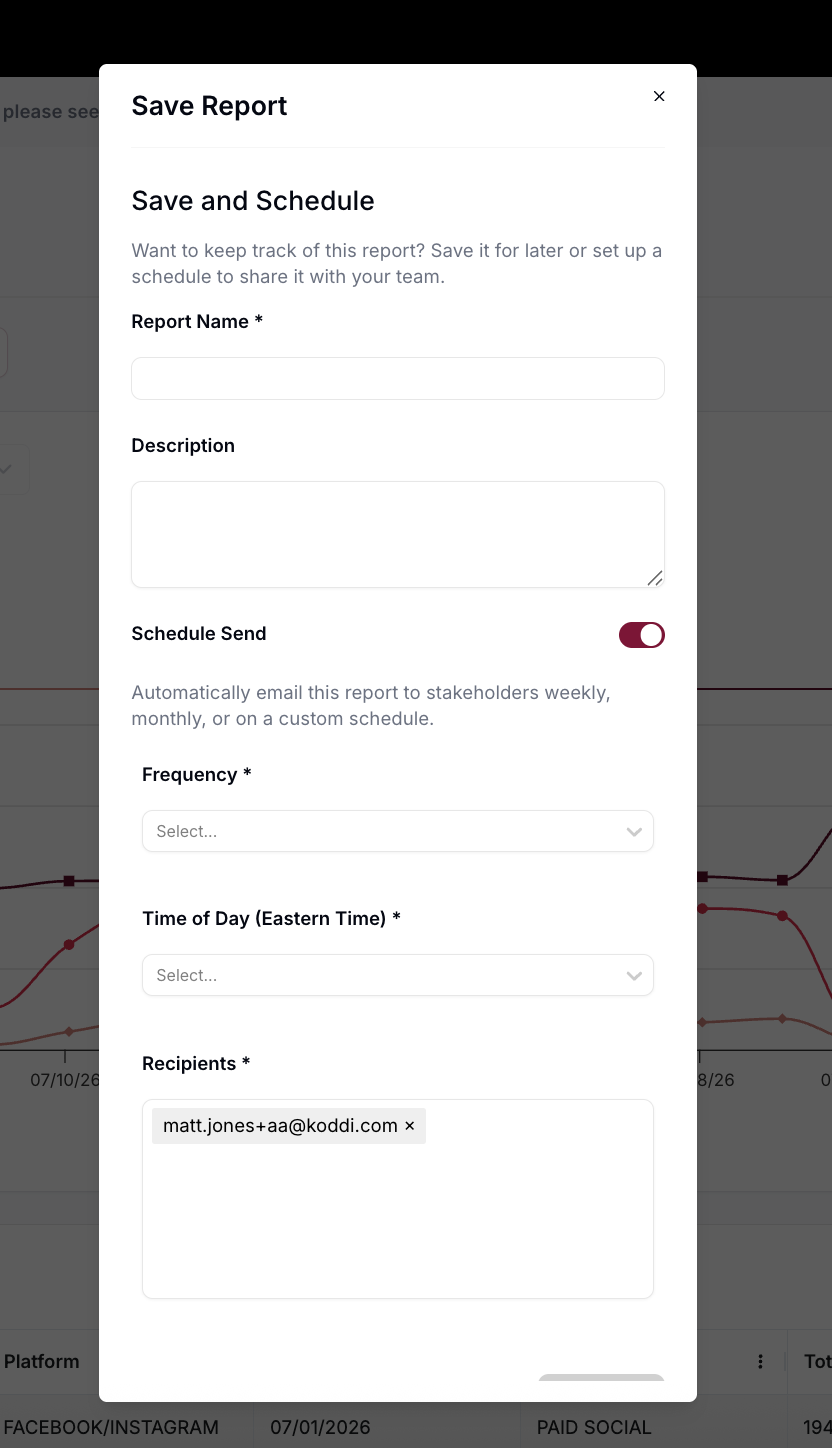
Navigate to the scheduled reports underneath the reports icon on the left > Open up the saved report, and click ‘schedule’ > Choose the cadence in which the report should be generated (daily, weekly, monthly)
Finding Campaign Reporting
1. Filter using ‘campaign name’ or ‘campaign id’
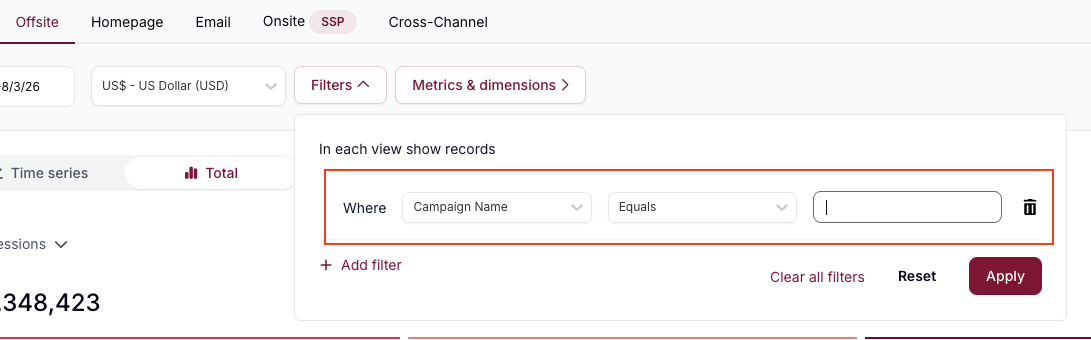
a. If you have multiple ad groups within a campaign, and would like to use those instead, select the ‘ad group name’ or ‘ad group id’ instead
2. Add applicable dimensions and metrics desired to build a report
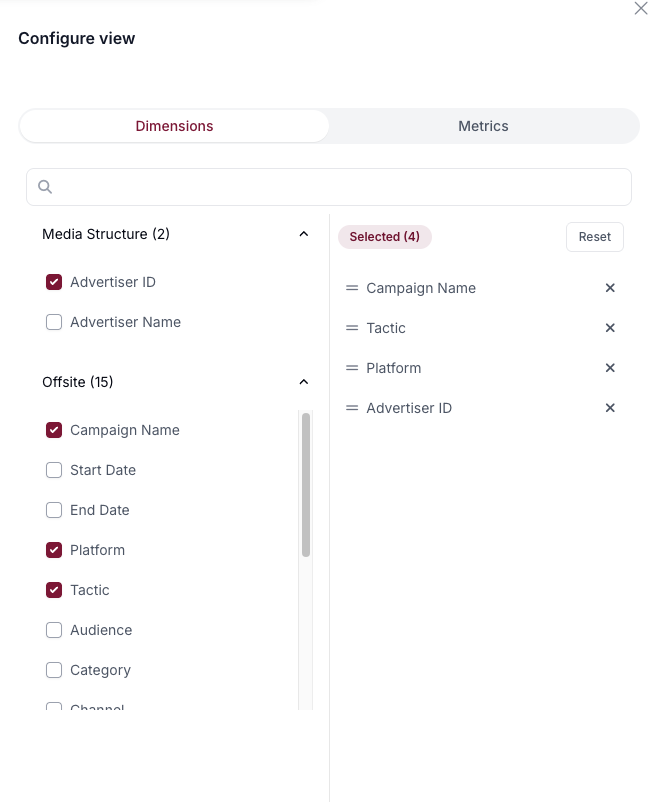
Pulling a report by timeframe
1. Select date range using date widget near the filters, dimensions, and metrics icons
a. You can choose a custom range by clicking on the calendar / custom icon, or can choose from some pre-select options (Last 7, Last 14, Last 30, YTD, etc)
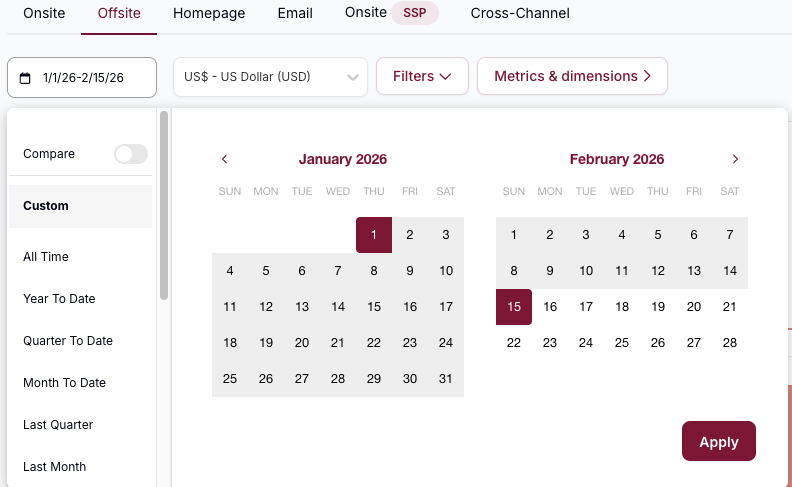
2. Add applicable dimensions and metrics desired to build a report